インストレーション
- テーマをダウンロード
../public/themes/へZIPを解凍して下さい。../public/themes/redminecrm/stylesheets/application.css
のようなapplication.cssへディレクトリーパスが開設されます。
- Redmineを再起動することで、新しくインストールされたテーマがリストに追加されます。
- "管理 -> 設定" -> "ディスプレイ" の順に進み"テーマ”のリストから新しく追加されたテーマを選び、設定を保存して下さい。
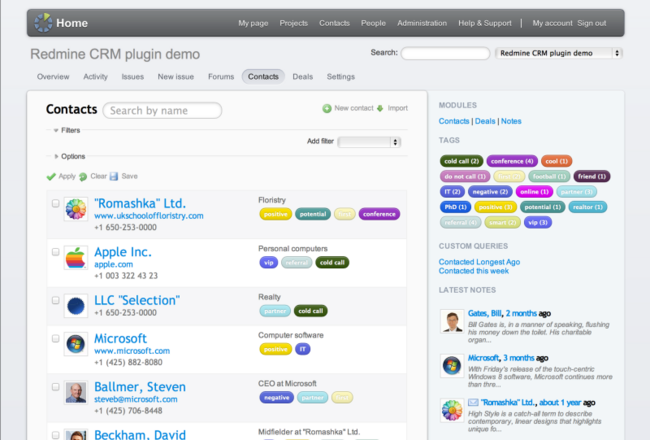
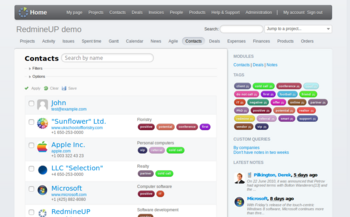
- 選択されたテーマがRedmineに表示されました。
ロゴの変更
- @./public/themes/redminecrm/images@ にあなたのロゴを追加して下さい。
- @./public/themes/redminecrm/stylesheets/application.css@ の15行目でパディングを変更してみよう
- 又は、単純にlogo.pngファイルから新規のファイルへサイズ43x30で置き換えて下さい。
...

#header > h1 {
	background: url(../images/logo.png) no-repeat 10px 20%;
	padding: 5px 60px; /* ここにロゴパディングを調整 */
}
Redmineのホスティングを試す
Redmineのメンテナンスで時間を浪費するのはやめましょう。エキスパートを雇い、プロジェクトに集中しましょう。15日間の無料トライアルを開始.
変更ログ
v0.0.2
- CRM plugin v3.2.6 support
- redmine_tags plugin support
- Invoice table headers
- Add news button
- Search field for Redmine 2.3
- Wiki page-title
- Wiki tables
- Wiki toc
v0.0.1
- Redmine 2.2 support
- CRM plugin 3.1 support
- Invoices plugin 2.0.1 support
- Helpdesk plugin 2.1.0 support
- Retina display support (thumbnails, contacts avatars, logo)