
Redmine 6 was released a few months ago, and all the minor bugs have already been fixed. June is traditionally a slow season, so it's a good time for a Redmine upgrade. While the CTO is not on holiday, it's time to upgrade from Redmine 5 to Redmine 6. Here is a guide on how to do it. .
The Redmine upgrade process itself can be daunting, with a risk of downtime or unexpected issues. CTOs worry about disruptions to ongoing projects if the upgrade doesn't go smoothly.
However, with the right approach, you can upgrade Redmine to the latest version smoothly and without downtime. In this guide, we'll walk you through a step-by-step process to ensure a seamless upgrade in 2025.
Why you should upgrade to Redmine 6: Key benefits for CTOs
Before diving into the upgrade process, let’s quickly recap why upgrading is essential:
- Security patches: Newer versions include critical security fixes.
- Performance improvements: Optimizations for faster issue tracking.
- New features: Access to the latest plugins, themes, and functionalities.
- Compatibility: Ensure support for modern Ruby, Rails, and database versions.
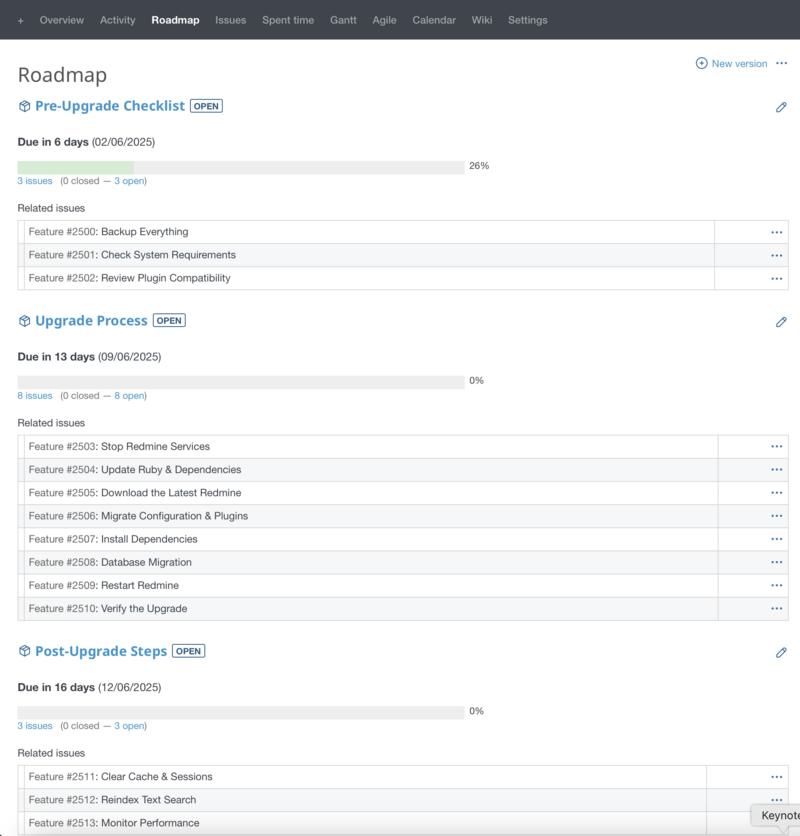
Pre-Upgrade Checklist
0. Read the official upgrade guide
Every Redmine release has specific upgrade instructions. Check the doc/UPGRADE file in the new Redmine package or the official Redmine wiki for the target version. This will highlight any breaking changes or specific prerequisites.
1. Backup everything
Before making any changes, ensure you have complete backups of:
- MySQL:
mysqldump -u [username] -p[password] [database_name] > redmine_db_backup.sql - PostgreSQL:
pg_dump -U [username] [database_name] > redmine_db_backup.sql
Redmine files (/var/www/redmine or your installation directory:
files/: Your uploaded attachments.themes/: Your custom themes.plugins/: All your installed plugins.public/system/: Assets generated by plugins or Redmine itself (if applicable).config/database.yml: Your database connection settings.config/configuration.yml: Your email and other settings.
Compress these into a single archive and store it securely outside your Redmine directory.
Plugins & Themes (Custom code may need updates)
2. Check system requirements
Verify that your server meets the requirements for the new Redmine version:
- Ruby Version: Does your current Ruby version meet the requirements of the new Redmine version? If not, plan to upgrade Ruby before upgrading Redmine. Tools like Tools like
rbenvorrvmmake this easier.rbenv or rvm make this easier. - Rails (version compatible with Redmine)
- Database (PostgreSQL 13+, MySQL 8+, etc.)Is your MySQL/PostgreSQL version supported by the new Redmine?
- ImageMagick/GraphicsMagick: Redmine uses these for image previews. Ensure they are installed and functional.
3. Review plugin compatibility
Some plugins may not work with newer Redmine versions. Check:
The plugin’s official repository for updates. Community forums for migration tips.
Make a list of incompatible plugins. You might need to disable them temporarily or find alternatives.
All RedmineUP plugins, for example, are compatible with Redmine 6 and can be successfully integrated into your environment.
Migrate to secure hosting
Don't waste your time on Redmine maintenance. Hire experts and focus on your projects
4. Inform your teammates
Schedule downtime. Communicate clearly when Redmine will be unavailable and for how long.
Redmine 6 upgrade process
1. Download the new Redmine
- Get the latest stable release from the official Redmine website.
2. Prepare the new directory
- Create a new directory for the new Redmine version (e.g., redmine-6.0.5_new).
- Extract the downloaded Redmine archive into this new directory. Do NOT overwrite your existing Redmine installation directly.
3. Copy essential files
- Copy your
config/database.ymlfrom your old Redmine installation to the new one. - Copy your
config/configuration.yml(if you've customized it) to the new one. - Copy your
files/directory contents from the old installation tonew_redmine/files/. - Copy your
themes/(custom themes only) from the old installation tonew_redmine/themes.
4. Install/Update Gems
- Navigate to your new Redmine directory:
cd /path/to/new_redmine - Install bundle:
bundle install --without development test(orbundle install --without development test --path vendor/bundlefor self-contained gems). This will install/update all necessary Ruby gems.
5. Apply new Redmine migrations
- Run the database migrations:
bundle exec rake db:migrate RAILS_ENV=production - Run the plugin migrations:
bundle exec rake redmine:plugins:migrate RAILS_ENV=production
If you previously had plugins: Reinstall compatible plugins into the new plugins/ directory and run their migrations. If a plugin is incompatible, leave it out for now.
6. Install plugins to new Redmine
Copy the compatible plugins to the new_redmie/plugins directory. If a plugin is incompatible, leave it out for now.
- install plugins dependences with
bundle installcommand; - run plugins migrations
bundle exec rake redmine:plugins:migrate RAILS_ENV=production.
7. Generate session store secret
bundle exec rake secret
This generates a new secret key for session management. Save this key as it's crucial for future upgrades or recovery. If you're upgrading from a very old version, you might need to copy the existing secret_token.rb or credentials.yml.enc over. For most upgrades, generating a new one is safe, but users might need to log in again.
8. Clear Cache and Restart.
- Clear Redmine's cache:
bundle exec rake tmp:cache:clear - Clear Redmine's sessions:
bundle exec rake tmp:sessions:clear - Restart your web server (Passenger, Puma, Unicorn, Apache, Nginx, etc.) to load the new Redmine instance.
Remember to update the Nginx/Apache web server configuration with the new Redmine value for the root path. You can update your web server configuration to point to the new_redmine directory.
Post-Upgrade Verification
1. Test thoroughly
- Log in as an administrator.
- Check all core functionalities: creating projects, issues, users, managing settings, uploading files.
- Verify your custom themes are working correctly.
- Test any reinstalled compatible plugins.
- Check the "Administration" > "Information" page to confirm the new Redmine version is displayed.
2. Monitor Logs
- Keep an eye on
log/production.logfor any errors or warnings.
3. Address plugin issues
- If any plugins are causing issues, disable them from the "Administration" > "Plugins" page and investigate compatibility.
4. Remove old Redmine
- Once your new Redmine is stable and running, you can safely remove the old Redmine installation directory (after ensuring your backups are secure).
5. Troubleshooting common issues
- "Missing Gems" Errors: Often solved by
bundle install. - Database Connection Issues: Double-check
config/database.ymland ensure your database server is running and accessible. - Permissions Problems: Ensure the web server user has read/write access to
files/,public/plugin_assets/,log/, andtmp/. - 500 Internal Server Error: Check
log/production.logfor detailed Ruby on Rails error messages. Also checknginx/apachelogs. - Plugin Conflicts: Disable all plugins, then re-enable them one by one to isolate the culprit.
- Slow Performance? Reindex the database and check server resources.
Upgrading Redmine doesn’t have to be painful. By following this structured approach, you can minimize risks and ensure a smooth transition. Always test upgrades in a staging environment first, and keep backups handy.
Happy upgrading!
Need help upgrading to Redmine 6?
RedmineUP offer Redmine maintenance services. Redmine upgrade is usually completed within one business day, and performed in suitable time for your team, independent of your timezone. Our expert support ensures optimal setup for your self-hosted RedmineUP Enterprise on-premises edition. Skilled engineers consult on system requirements and guide you through the installation within your infrastructure.
We were spending too much time and resources on maintaining our Redmine system. Our team lacked the necessary Linux skills to keep it running smoothly, and updates were becoming a major headache. We considered upgrading Redmine internally, but the costs in terms of time and resources were prohibitive. Our team was already stretched thin, and we couldn't justify diverting attention from our core competencies. Jens Wegner, Net-wb GmbH.
To book the maintenance plan drop us a message. A team of experts will check your Redmine environment and recommend the best course of action.

Try Redmine 6 in the cloud – Start for free!
Using cloud-hosting services for Redmine has been a stable trend for the last few years. It helps you obtain both the great benefits of the flexible, open-source Redmine platform and eliminate its downsides, such as poor security, low usability and high maintenance costs.
Migrate to secure hosting
Don't waste your time on Redmine maintenance. Hire experts and focus on your projects
Redmine, while an open-source tool, requires server infrastructure and technical skills in Ruby and Linux to set up. This can be complex, making Redmine Cloud a more accessible option. Redmine Cloud offers a ready-to-use, stable version of Redmine, along with popular plugins. Instead of hiring Redmine experts, you can create a free cloud account to get started.
Dedicated Redmine hosting, such as RedmineUP Cloud, includes TLS/SSL encryption, daily backups, firewall management, load balancing, and independent, secure clusters. AWS infrastructure provides high availability and performance. Active Directory integration using SAML.