The current guide will show you how to add images via the CMS plugin.
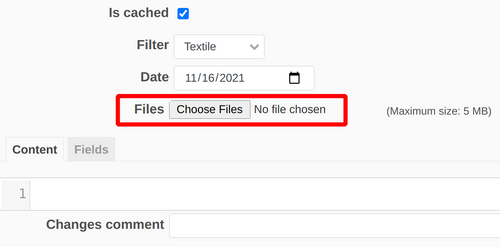
Firstly, you have to upload the needed picture via the Files section.
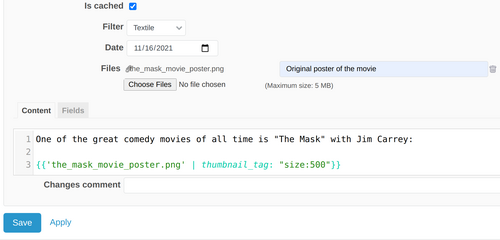
Then you have to use the following syntax as in the example below.
{{'name_of_the_picture.png' | thumbnail_tag: "size:500"}}
In the field name_of_the_picture you have to set the name of the picture file itself. Also, you could set an optional description of the image. Please do not forget to set also a thumbnail_tag. In our example, the size of the picture is such a tag with the value "500" pixels.
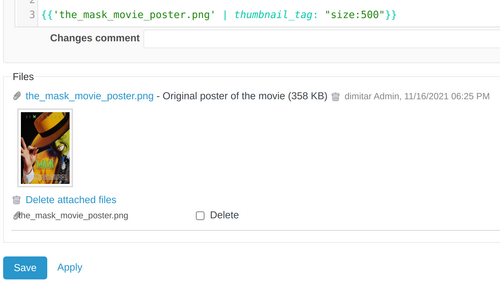
After saving the changes, the image will successfully appear.

If you would like, you may access or delete multiple images at the bottom of the edit page.