
In today's post, we will introduce you to a comfortable way to automate the process of sending identical invoices to your clients on a periodical basis - here come the recurring invoices! .
This feature would be undoubtedly useful if you sell many products or provide services on a regular basis, especially to the same group of clients. In this scenario, creating periodical bills in Redmine manually, and sending them to all the recipients could be a pain in your workweek. Well, here comes a medicine.
With the recurring invoice, you can automate the process of creating and sending invoices to the client. Let's see how to set the whole process up.
Creating the recurring invoice.
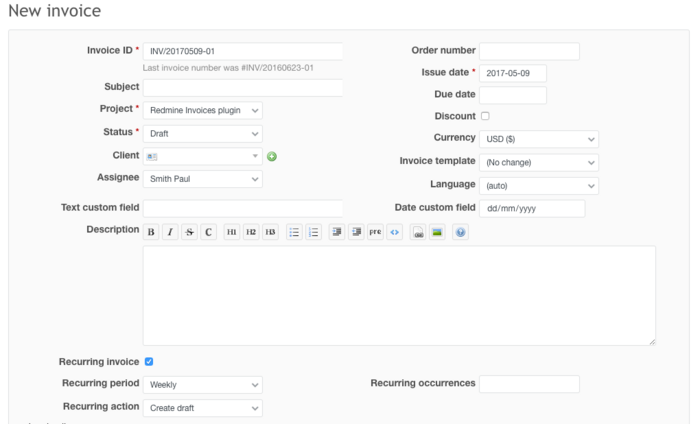
When you create an invoice or edit an existing one, you can see and check the special checkbox "Is recurring." Once checked, you will see three new fields: recurring period, recurring occurrences and recurring action. Let's take a closer look.
The recurring period defines, how often the invoice should be sent to your customer. You need to select the value from a dropdown list. These are the predefined options:
- Weekly,
- Every two weeks,
- Monthly,
- Every two months,
- Every three months,
- Every six months,
- Yearly
The second parameter, the recurring occurrences is a text field where you may set how many times an invoice should be sent. You may enter a number here or leave this field empty. In this case, it will be sent till you stop it or until the end of the world :)
Last option, the recurring action describe what our plugin should do with an invoice. There are two options:
- Create a draft - an invoice will be created, you may manage it, but it will not be sent anywhere anytime.
- Send to a client - an invoice is ready and will be sent to a customer in the scheduled time.
Also now you may create sub-invoices from recurring invoice. But please note that all the sub invoices will be created as recurring and you will not be able to remove this option.
So the billing is done. Now let's set up email messages and plan the operation on our server.
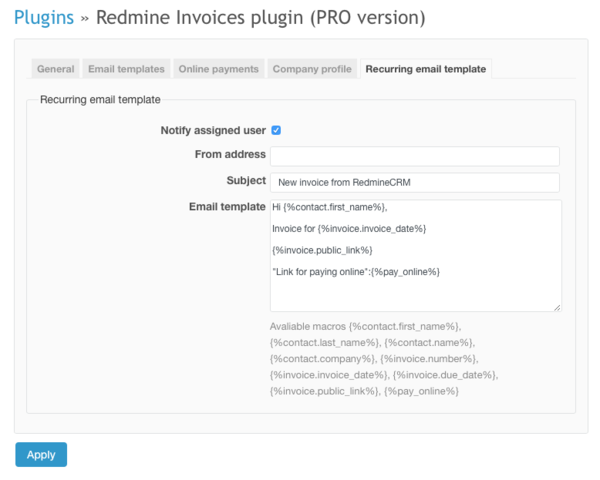
E-mail templates
You can edit email messages that would be added to the document sent to your client. To manage them, please go to Administration -> Invoices. You notice that there is a new tab - Recurring invoices templates. Here you may set up your sender e-mail address, as well as the subject for the messages and email content. You can use special macros, that inserts data, like client's name, invoice number, dates, or link to pay the document online through PayPal.
Setting up the cron job on the server
The last task is setting the automated job to send the invoices.
1. Go to your server and log in as a root user or do
sudo su2. Run the following command
crontab -e3. Add the next line to crontab. 5 below defines how often server will check if there is already a new invoice waiting to be created. This specific notation means that server should run the command every fifth minute from time when cron was set up.
*/5 * * * * cd [your_redmine_folder] && bundle exec rake redmine:invoices:recurring RAILS_ENV=production4. Save the changes. They will be applied immediately.
That is all. Now you can relax and enjoy the time you saved yourself on this repetitive billing tasks. What would you like to read next? Please share your ideas, as well as opinions on the article in the comment section below. See you next Tuesday.
