
So you work and manage billings with international clients. You would like to have one beautiful invoice design that would represent your brand and business, and at the same time be easily adaptable for all countries. This article is for you. Today we will show you how to create a one universal invoice template for multiple languages in Invoice plugin. .
All you need is a small drop of Liquid markup language and a little bit of HTML. I will present you all the steps on a simple template. Feel free to use the code later and data if your business and requirements. You would need a notepad, basic knowledge of HTML, this article and perhaps a coffee :) Let’s go through the code and discuss the details how to create a multi-language template.
Liquid language is pretty simple, as it is a very descriptive programming language. You will understand most of the processes just by looking at the variables and the order of operations. At the beginning of the document, we will start with defining variables and preparing simple algorithm that would assign text labels depending on the language used for an invoice in the Redmine.
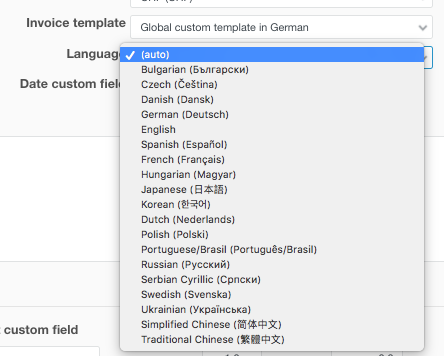
In other words, after saving and using this few lines in your design, you can just switch the language from the drop-down list, and the invoice will automatically change.
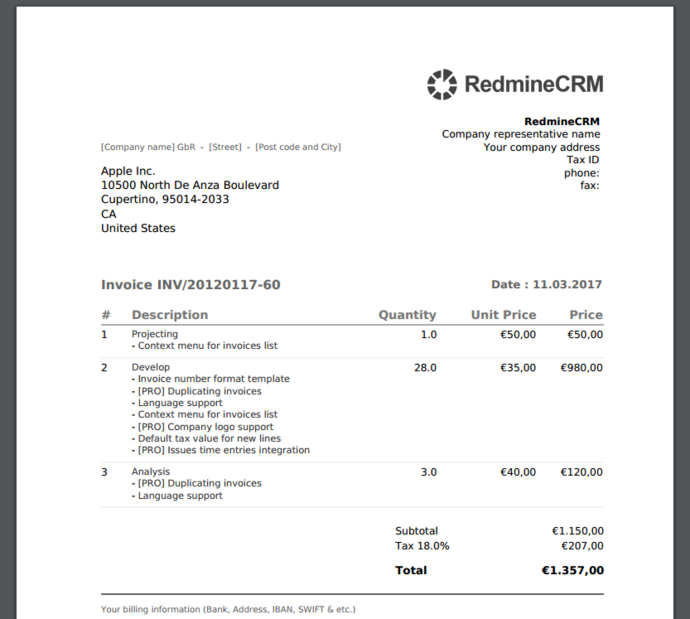
Just take a look - this is a default look in English:
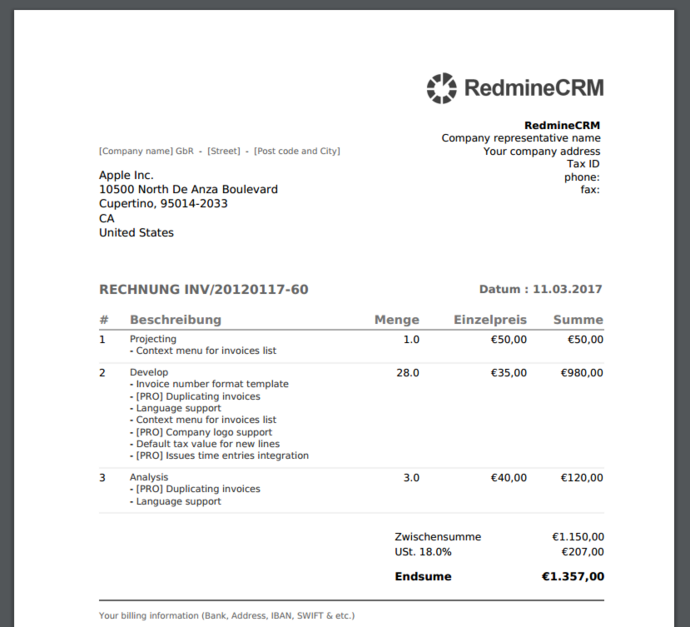
If we modify the language to German, it changes the labels to the one prepared for German, like this:
Pretty simple, right? So let’s go.
We start by resetting the value of ‘invoice_label’ which represents the label we will use in the invoice for each texts elements. You can call the variable in any way you want and would be understandable by you.
{% assign invoice_label = "" %}
Next, we create an algorithm, that would define value (here a text that would be displayed) of a label depending on the selected language. First, we will set values for each language, and in the second step, we define default values.
{% if invoice.language == 'de' %}
  {% assign invoice_label = "ANGEBOT | RECHNUNG | Datum | Beschreibung | Menge | Einzelpreis | Summe | Zwischensumme"  %}
{% endif %}
You can create as many lines for as many languages you need. Just enter another line for anther language, like this:
{% else invoice.language == ‘de’ %}
You use two-letter language code in small letters, for instance: es, fr, ja, pt-pt, pt-br, pl, dk and so on.
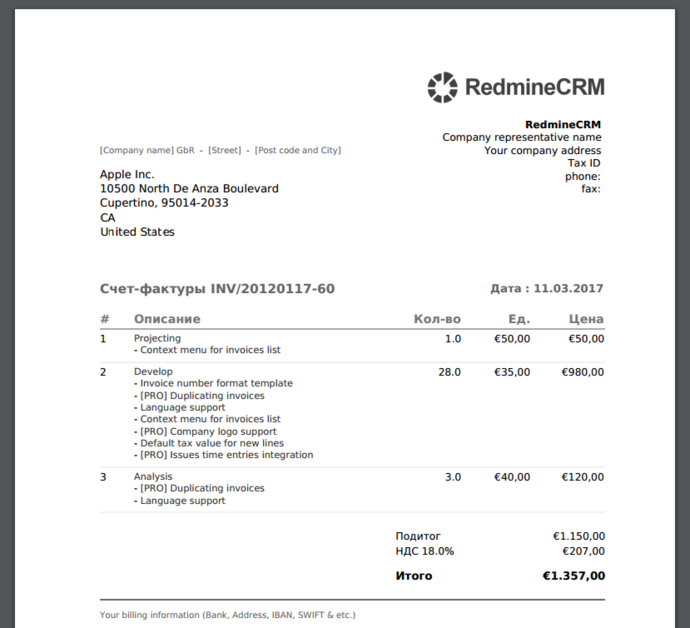
{% assign invoice_label = "Смета | Счет-фактуры | Дата | Описание | Кол-во | Ед. | Цена | Подитог" %}
Here you just insert labels visible in the invoice divided by some symbol. Again, it can be anything. We use “ | " what would make the words easy to find, and if needed replaced or corrected. If you wish you can also make it like this:
{% assign invoice_label = “Label1;Two word label;label2” %}
Coming back to the main topic, after defining the values for each language we would need, we create default values:
{% if invoice_label == "" %}
  {% assign invoice_label = "Estimate | Invoice | Date | Description | Quantity | Units | Price | Subtotal" %}
{% endif %}
{% assign invoice_label = invoice_label | split: “ | “ %}
Do you see the [ split: “ | “ ] part? Here you define the symbol you use to separate the words. Again put anything you find suitable for you as a convenient separator.
The algorithm is done. Now we can move to the design and implement our function. It was not so scary, right?:)
Now, whenever there is a label in the invoice just insert items with the number that settles down the position in the list of values (labels), starting from 0. As by the model:
{{name-of-your-variable[#order-numer-in-the-queue]}}
In our case it would be:
{{invoice_label[0]}}, {{invoice_label[1]}}, {{invoice_label[2]}}
Let’s take a look at example:
<thead id="ItemsHeader">
  <tr>
    <th class="item">#</th>
    <th class="description">{{invoice_label[4]}}</th>
    <th class="quantity">{{invoice_label[5]}}</th>
    <th class="price-unit">{{invoice_label[7]}}</th>
    <th class="price">{{invoice_label[8]}}</th>
  </tr>
</thead>
You can use the labels in any order. For example, let’s say for some reason you have to use the same date field as a date of setting the invoice and sale date. Then it would look like this:
<thead id="ItemsHeader">
  <tr>
    <th class="item">#</th>
    <th class="description">{{invoice_label[4]}}</th>
    <th class="date">{{invoice_label[3]}}</th>
    <th class="quantity">{{invoice_label[5]}}</th>
    <th class="price-unit">{{invoice_label[7]}}</th>
    <th class="price">{{invoice_label[8]}}</th>
  </tr>
</thead>
You can also use them further in any simple algorithms. Like this one that uses different titles if the invoice is just a quote or regular invoice:
<div id="Title">
  {% if invoice.is_estimate? %}
    {{invoice_label[0]}} //Here you use label number of a quote.
  {% else %}
    {{invoice_label[1]}} //Here you use label number of a regular invoice.
  {% endif %}
  {{ invoice.number }}
</div>
That is all. Let’s take a look at the template again
Moreover, take a sneak peek into the code (in rtf format)
With this simple trick, you will save yourself hours on copying, pasting and multiplying the same design for each language. Now you are ready to go and make your beautiful templates. Share idea with your developers and admins. Let us know what do you think about this kind of tips. As always, send your ideas for areas in which you would like to make tasks done faster or easier. Till the next Tuesday!