From Reporter 2.0.0, a new feature was added - Schedules.
To access this feature, please go to Administration (on top) - Plugins - Reporter - Configure - Report - Report templates. And here click on the New schedule button.

Then the available fields for filling will be the following.
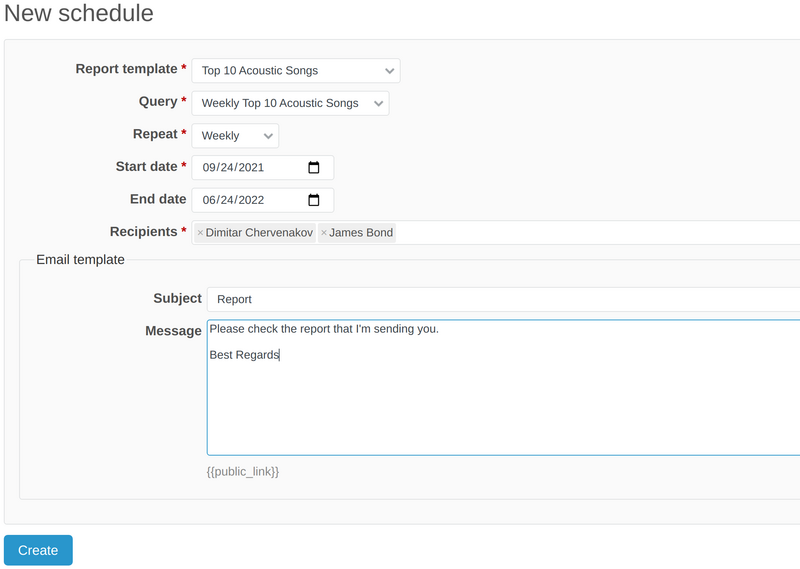
Now, let's take a look at each option separately.
Report template
Here, you have to choose the appropriate report template that you would like to be included in the schedule. You could pick one from the drop-down menu. To check how a report is created (or edited), please follow this guide.
Query
From the Query drop-down menu, please choose the correct Issues query that you have already saved. Saved queries could be found in the right sidebar of the Issues section.
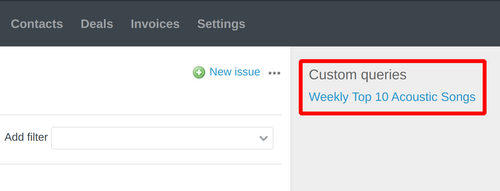
To save a query of Issues, please add the needed changes (for example filters, available columns, etc) and hit Save.

Repeat
The Repeat option is about to set how often the reports would be sent to the particular recipients. Available options here are:
- Daily
- Weekly
- Monthly
- Quarterly
- Yearly
Start date and End date
Here, you have to pick up the particular period of time that the schedule will be applied. Please choose the dates from the calendar widgets that will pop up.
Note: Please keep in mind that the Start date is a required field. This means that once you set the schedule, it could continue forever if you do not set the End date.
Recipients
In this field, please select the users (people) who need to receive your reports on a daily, monthly, etc., basis.
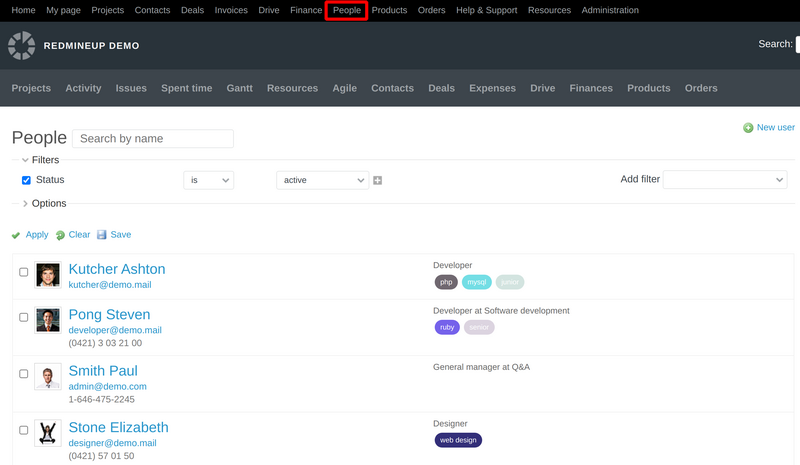
If you use the People plugin, then you could find the fool list of People when you click on People from the top menu.
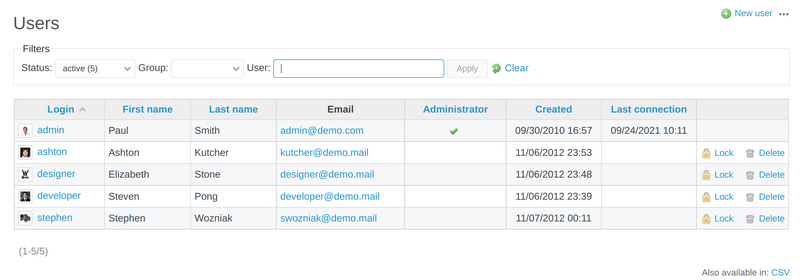
However, if you use the default Redmine users functionality, then please go to Administration - Users. And here you could add/edit/delete the users that are available as recipients for the scheduled reports.
Email template
As the name of this option suggests, here you have to write the Email template, i.e. the text that is going to be sent to all the recipients alongside the report itself. It has a Subject and Message area that has to be filled in accordance with the particular report that is going to be sent.
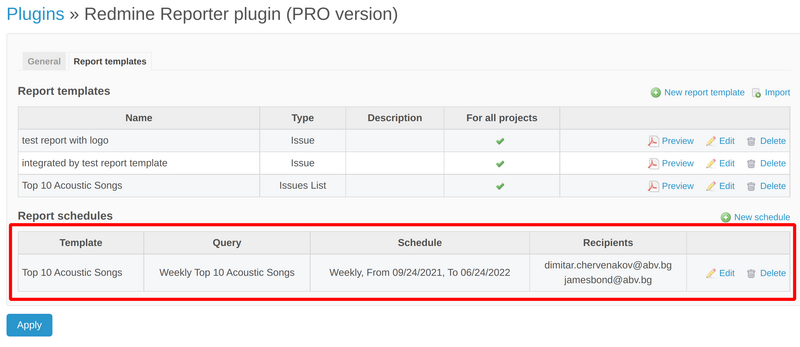
When all the above fields and options are set, then the saved schedule would look like this.