In order to create a new custom field for orders, go to Administration -> Custom fields and click on New custom field in the right upper corner. You will have to choose the type of object for it first.
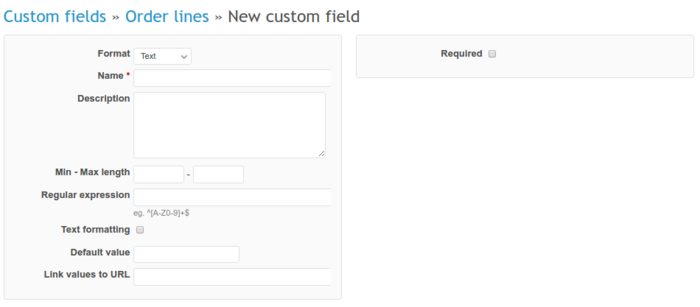
Next, fill in some details.
You can also edit existing custom fields - just click on the name of the field.
After you use custom fields in your product, it should look like the below:

If you want to filter data based on your new custom field, just check this option in. You can also decide whether this custom field will be a required field, available for all projects or just some of them, available for certain trackers and whether it will be a private custom field or visible for other users.
Custom fields are usually used for filtering data - they are available in the filters dropdown list. To see the custom field in the list of filters you need to edit this field and enable the Used as a filter option.