Administration > Users
Administrators manage all Redmine User accounts. As an administrator, you can:
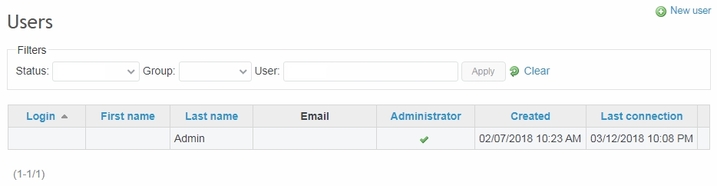
Until any new user accounts are created, there is only the Default user (e.g., admin).
Create new users
To create additional users, go to New user and fill in the following details (marked with * are mandatory):
- Login: Account’s user name
- First or Last name: Real name of the user
- Email: Full email address of the user. One email cannot be applied for more than one user.
- Language: Select one from the list. This will also set application language.
- Administrator: Check box to give unrestricted administrator permissions (similar to Default user)
- Password: At least 8 characters. To improve security, use longer passwords with letters and numbers.
- Confirmation: Type the same password again.
Note: You can automatically generate a password and/or require it to be changed at next user login (to do so, check corresponding boxes). By doing this, you can ensure that only the user receiving this account will know its password.
Additional settings can be modified:
- Will this user receive email notifications and in which cases (see User email notifications);
- Will this user’s email be visible to other users;
- Define user’s time zone (at work location);
- In what order will this user view comments;
- Will the user receive a warning if leaving a page with unsaved text;
- What font will be used for text areas viewed by this user.
There is also an option to send user account details as a message to the user’s email (done automatically at saving).
Save the new user by clicking Create or Create and continue if you want to start creating another user.
Edit existing users
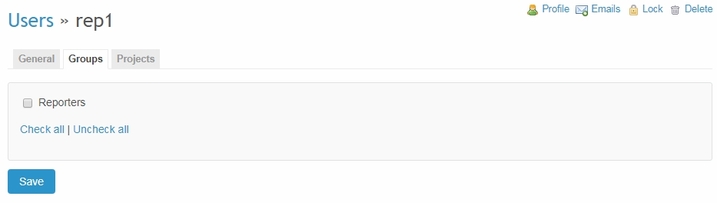
To edit a user account, click on its Login (i.e., User name) in the list and you can modify user’s details as shown above (tab General). You can also add the selected user to a group of users or to a project as Member (including setting a Role for the user).
When finished editing, use Save button to apply changes. Again, modified user account details can be sent by email to the user (check corresponding box in General tab).
Lock or delete users
All non-administrator accounts can be deleted or locked by administrators. Also, any administrator (marked in the corresponding field) can be locked or deleted by another administrator.
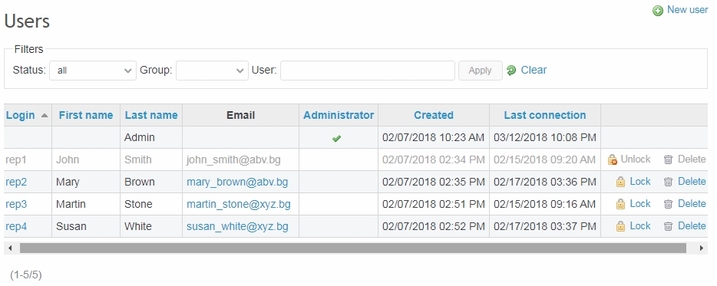
Locking a user means that this user can no longer log in, has no access to any application features, and does not receive email notifications. The user will remain under this status until being unlocked by an administrator. Locking a user saves all user account details.
If you want to permanently remove a user account, use Delete.
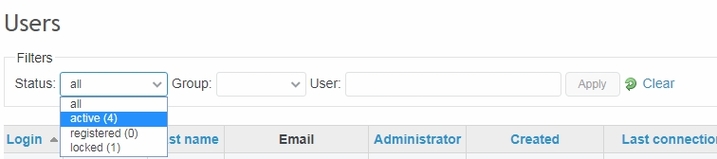
Apply filters to the Users list
By using the Filters panel, you can filter the Users list by selecting a user status, a group, or reduce the list to one or several user accounts by typing a keyword (login, First name, Last name, Email). Note that the Users list may be filtered by default to active users only.
Note: You can sort lists in Redmine by clicking on a column name marked in blue (in the Users list, you can sort by any column values except Email). Sorting column and type (ascending or descending values) are indicated by a gray arrow. By default, lists are sorted by the first column.