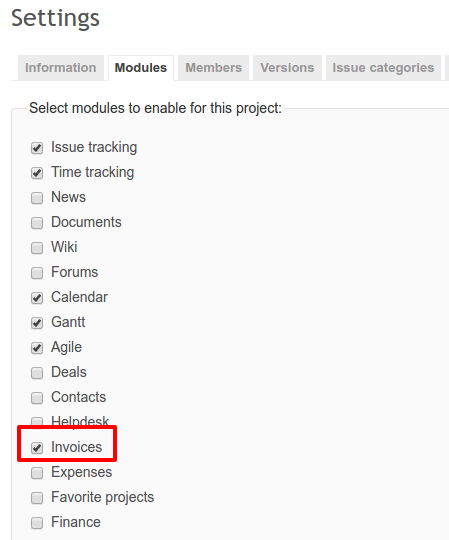
To start using "Invoices", enable it in the project’s “Modules” settings.
Now you are ready to go. There are two ways to generate an invoice: manual and based on the time spent on various activities.
Create invoice manually
Go to your project and click tab Invoices. Remember, the Invoices plugin should be enabled for your project in the project’s settings. Click the New Invoice button.
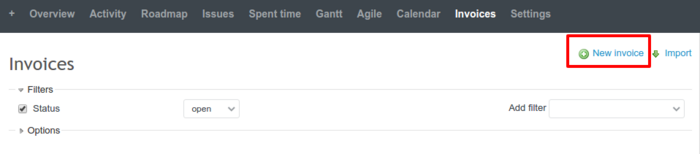
You will see a new invoice form.
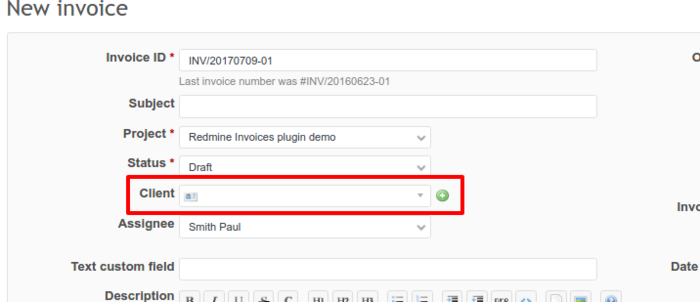
Your invoice ID will be pre-generated from your configuration, or you can enter a custom value. Add the information needed as it is shown on the picture: connected project, status, client, specify the user responsible for the operation, invoice date, currency, discount, and invoice language.
By default, invoice language is set to the one, which set in the configuration of the user, but you can select the language manually.
When it comes to clients, you can choose them from the list of existing clients, or create a new one. Just click on the green plus icon on the right. Fill in the details and click Create.
The second section Invoice lines includes the most important information: description of the service/product, quantity (Qty), units of measure, unit price, and tax.

If you have the Products plugin installed and activated, you can add it to your invoice by typing the product name in the input next to the Add line. It will have the price filled automatically.
Create an invoice from the contacts list page
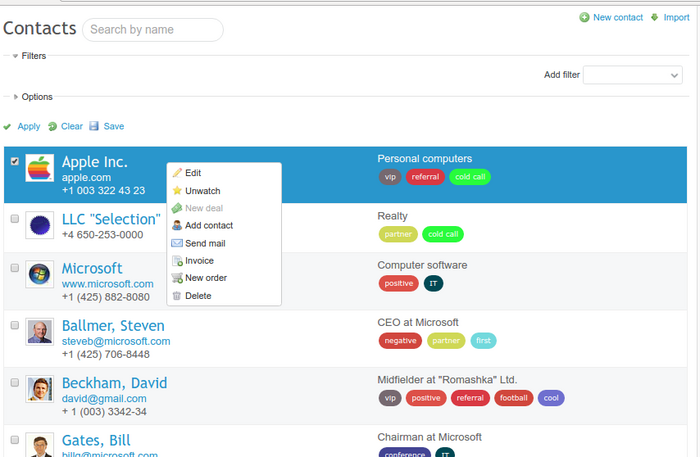
Another way for creating invoices is through the Contacts module. Navigate to the specific project and open the contacts tab. Do a right-click on the contact (employee or company) and select Invoice. This procedure will automatically assign client and project leaving everything else for you to complete.
Create invoice from issues page
You can bill on the basis of time spent on a particular ticket (issue) or set of issues. For this, you will need to enable Issues tracking in the project’s settings (Modules). Invoices plugin is also 100% compatible with our plugin Helpdesk, which transforms your Redmine into a full-featured client support system.
Navigate to your project’s issues and select one or several issues. To select several issues press and hold the “Shift” key while selecting issues with your mouse left key.
Create invoice from time entries page
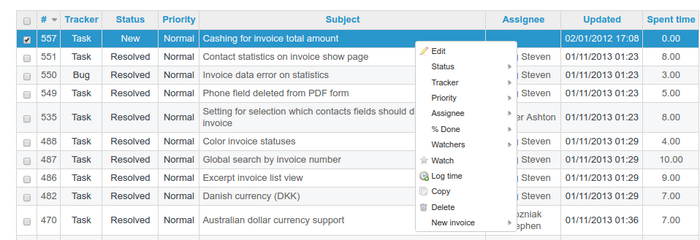
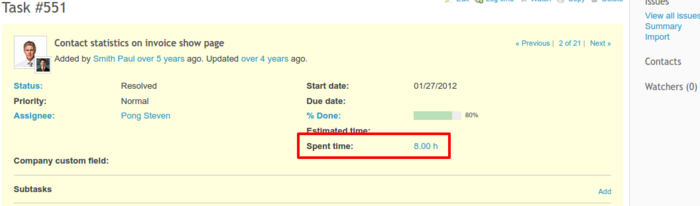
If you want to bill only certain activities within one ticket, you can do this by navigating to the ticket view and clicking on the spent time value.
This action will bring you to the time entries page.
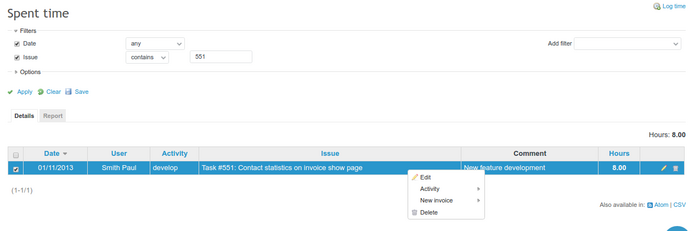
As with the issues page, hold down the Shift key to select multiple entries and do a right-click. Click New Invoice and select grouping type.
If you did not explicitly set the Grouping option to one of the values in the Invoices administration page and left it to be default (“All” option), you will be able to manually choose one of the invoices entries grouping option from the list:
- By activity
- By issue
- By user
- Single line
- By time entry
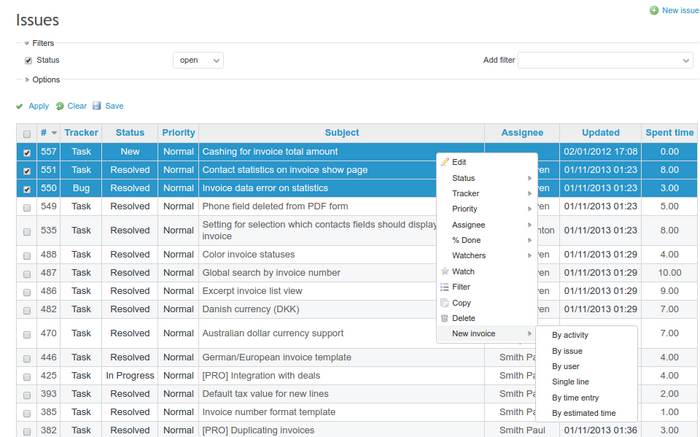
In our example, we choose the By activity option.
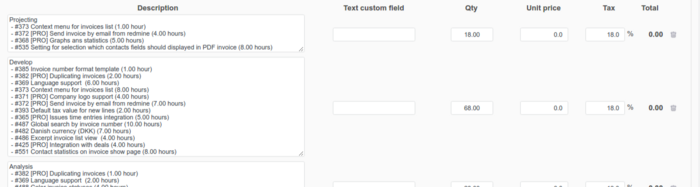
This would generate the form similar to what you have seen previously in the Create invoice manually section, except it automatically fills for us issues grouped by activity and quantity (time spent on issues, or log time).
Fill in the form and your prices for each type of activity and taxes (if applicable) to finish. Click Save and it is done! Now you should see the invoice in the list and have the ability to download a PDF report of the invoice.
Send invoice
When your invoice is ready and saved, its status is Done. You can send it to your client from Redmine. Just click on the Send link which you will find within invoice options.

Then, fill in the fields. You can change from email, as well as add new emails as cc and bcc.
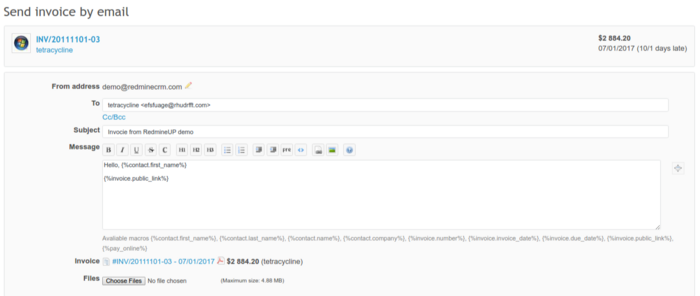
Subject and pdf with the invoice will be added by default. When adding email content, you can use macros like the ones provided below. Also, you can attach additional files. Below you will see a preview of the email.
When ready, click submit. The invoice will change its status from Draft to Sent. When you receive money from the client, you can change its status to Paid by clicking on Add payment. By default, the payment amount will be the full invoice amount, but you can change it if you received only part of it. All payment history will be visible on the invoice in Redmine.
When you go to the client's view, you will see there all their invoices with statuses.