This article covers briefly everything from configuration to the first email response.
- Set up default Redmine outgoing mail settings
- Set up project-specific outgoing mail settings
- Answer a ticket
Set up default Redmine outgoing mail settings
Specify your mailing service and credentials
Update redmine/config/configuration.yml file according to your mailing service:
Local sendmail server:
default:
  email_delivery:
    delivery_method: :sendmail
SMTP server without authorization:
default:
  email_delivery:
    delivery_method: :smtp
    smtp_settings:
      address: "smtp.example.net"
      port: 25
      domain: "<yourdomain>"
SMTP with login authentication:
default:
  email_delivery:
    delivery_method: :smtp
    smtp_settings:
      address: "smtp.example.net"
      port: 25
      domain: "yourdomain"
      authentication: :login
      user_name: "yourusername"
      password: "yourpassword"
SMTP with plain authentication:
default:
 email_delivery:
   delivery_method: :smtp
   smtp_settings:
     address: "smtp.example.net"
     port: 25
     domain: "yourdomain"
     authentication: :plain
     user_name: "yourusername"
     password: "yourpassword"
SMTP Gmail with TLS:
default:
  email_delivery:
    delivery_method: :smtp
    smtp_settings:
      enable_starttls_auto: true
      address: "smtp.gmail.com"
      port: 465
      domain: "smtp.gmail.com"
      authentication: :plain
      user_name: "yourusername@gmail.com"
      password: "yourpassword"
SMTP Office 365 with TLS:
default:
  email_delivery:
    delivery_method: :smtp
    smtp_settings:
      enable_starttls_auto: true
      address: "smtp.office365.com"
      port: 587
      domain: "yourdomain"
      authentication: :login
      user_name: "yourmail@somedomain.smth"
      password: "yourpassword"
SMTP Outlook with TLS:
default:
  email_delivery:
    delivery_method: :smtp
    smtp_settings:
      enable_starttls_auto: true
      address: "youraddress.outlook.com"
      port: 587
      domain: "outlook.com"
      authentication: :login
      user_name: "yourmail@somedomain.smth"
      password: "yourpassword"
Note: Some providers have additional security measures that must be addressed. For example, as of July 15, 2014, Google increased its security measures and now blocks attempts from apps it deems less secure. You can change your Gmail settings here to allow the attempts. If your Gmail account has 2-factor authentication enabled, then you will need to set an app password and use that instead of your regular password.
Set the new email address to be used to send Notifications
Go to Administration->Settings->Email Notifications tab and enter the same email address as used in configuration.yml.
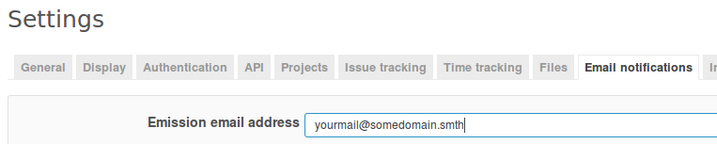
Note: You can specify what name the recipient of the mail sees by using the syntax yourname <yourmail@somedomain.smth>
If the configuration in configuration.yml is missing, you will see the following message:
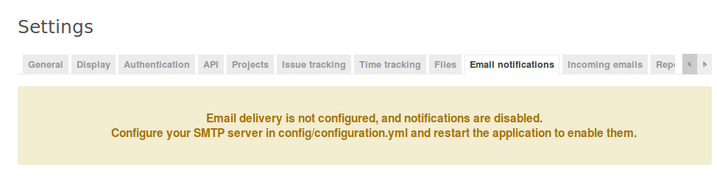
For more information refer to Redmine documentation .
Set up project-specific outgoing mail settings
Go to project Settings and Helpdesk tab. At Outgoing mail server uncheck Use default settings.

A form will appear.
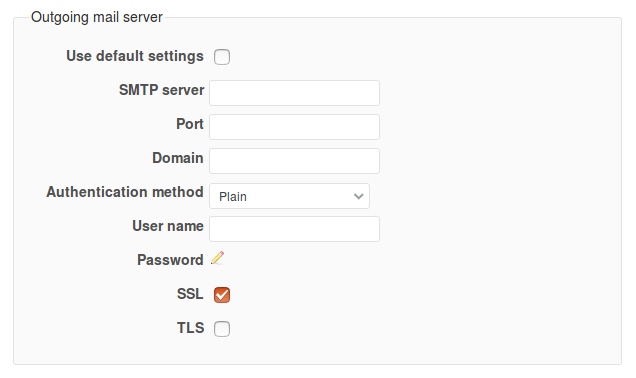
You can use the first step of the previous section as a reference. Select the SSL (Secure Sockets Layer) option according to your service. The enable_starttls_auto: true line in the configuration code corresponds to the TLS checkbox. Both this and SSL must be enabled for Office 365, Outlook, and Gmail. Click Save when you are done.
Answer a ticket
- To write a response without quotation, click on
 . If the latest comment in the ticket was received from someone in CCs then their e-mail will be automatically set as the recipient of your message. Otherwise, it will be the original author and include Ccs of the ticket.
- To quote ticket body, click on
 .
.
- To quote a comment, click on the speech bubble
 at the respective comment. This will also set the author of the comment as the recipient of your message and include Ccs of the comment.
Write your reply in the Notes field.
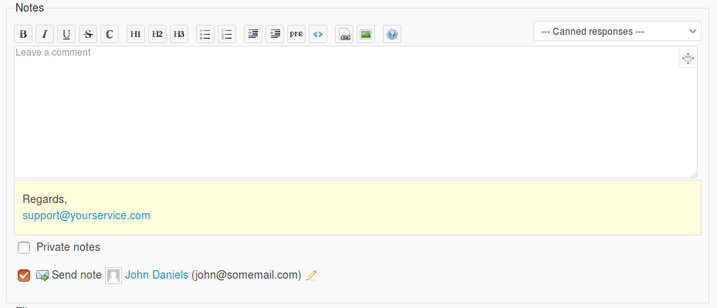
Make sure Send a note is checked. Here you can see and choose the recipient. By clicking on the pencil icon  you can edit recipient, Cc and Bcc. Click Submit to send the response.