Creating from the Issues' list
In order to create a new helpdesk ticket, go to your project, Issues tab and click New issue. When you choose Support from the tracker dropdown, the issue layout will adjust to support ticket view.

Fill in all the necessary fields:
- choose a customer who will be a contact for this ticket,
- add a subject, status, and priority
- choose ticket source - how did you learn about the issue (phone, web, email, etc)
- choose if you want to send it as a notification or initial email
- add some description and assignee
After you click Create, the ticket will look similar to the below:
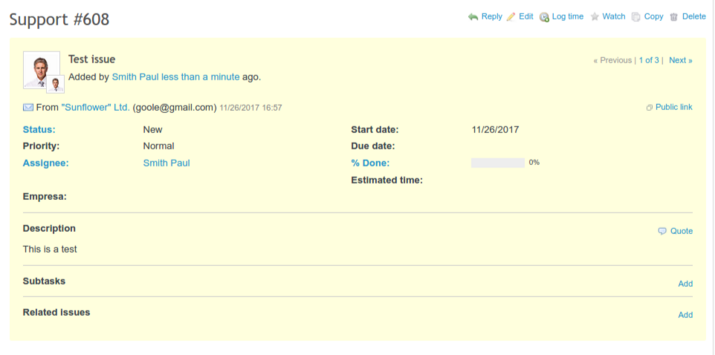
From now on you can proceed normally with your manually created ticket, i.e. reply to it or change its status, progress, and so on.
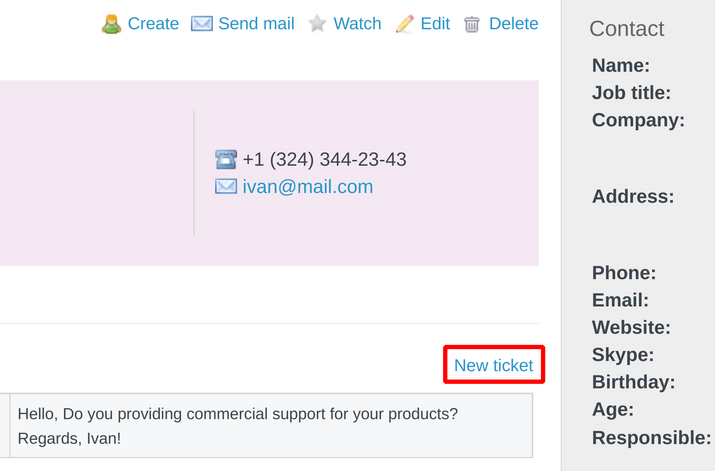
Creating from a Contact
The second way of creating a new ticket is directly from a Contact via this button.
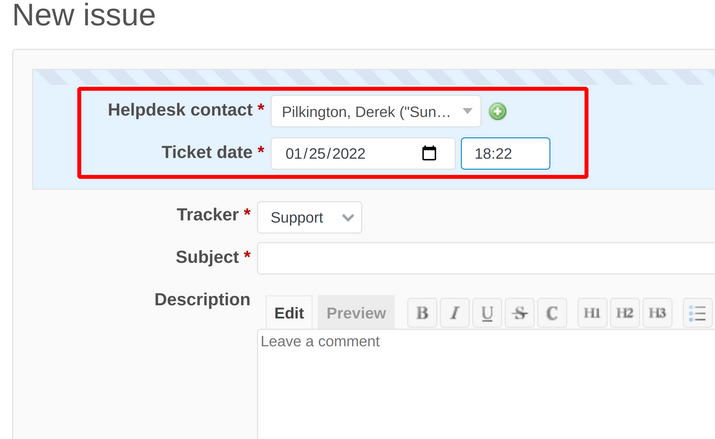
And then, the Helpdesk contact will be automatically filled.
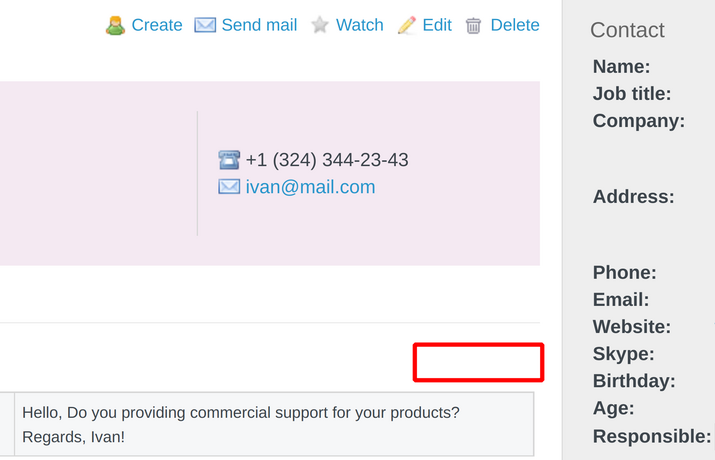
Troubleshooting
A possible problem that could appear is that you would not be able to see the New ticket button in the Contact.
To fix this problem, you have to go to the Helpdesk project tab. Then, here you have to set a Ticket tracker.
![]()
Please save the changes and the New ticket button will appear.